
[vc_row][vc_column width=”2/3″][vc_column_text css=”.vc_custom_1540780291194{margin-bottom: 0px !important;}”]SITUATION
Freshening up a home in hopes of a quick sale!
Today I’m working in a property that is literally only days away from being actively listed for sale. In this transaction, I’m providing both real estate services and pre-listing repair services for the owner. Which means that I’m responsible for performing the necessary repairs as well as listing the home immediately upon completion.
I recently performed a pre-listing property evaluation of the home and the owner and I have been working together to make the final selections of repairs and improvements that will be completed.
The house is pretty young by my standards (built in 2005) and is in pretty good shape overall, but still needs to have a few items freshened up to ensure that it looks its best when we go to a market and hopefully yield a quick sale.
[/vc_column_text][vc_column_text css=”.vc_custom_1531824962563{margin-bottom: 0px !important;}”]INSTRUCTIONS
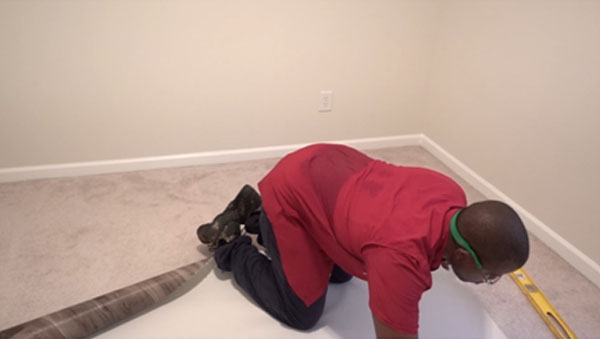
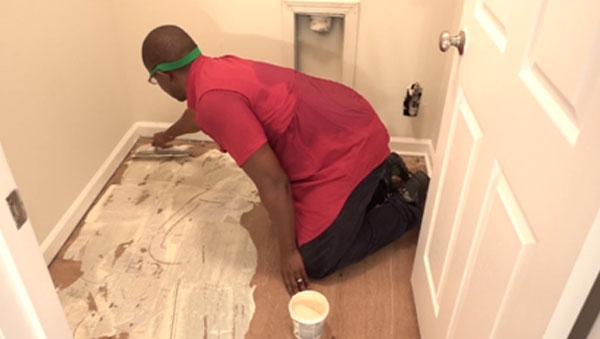
FLOOR PREP
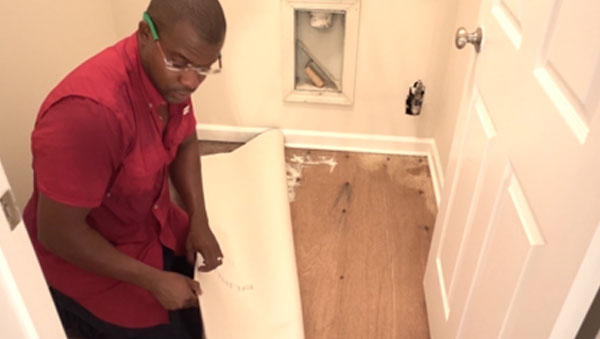
One of the first repair items is the replacement of the vinyl flooring in the laundry room. I removed all of the existing floorings and cleaned up all the glue that was present. Space is approximately 5’6” x 5’6″. Note: The worn out existing flooring was removed prior to the time I began filming.[/vc_column_text][vc_single_image image=”220″ img_size=”full”][vc_column_text css=”.vc_custom_1536561448519{margin-bottom: 0px !important;}”]WARNING: I’M SWEATING LIKE A DOG IN THIS VIDEO. The heating and air technician could not be scheduled until later on in the week and time was of the essence.[/vc_column_text][vc_column_text css=”.vc_custom_1531825610773{margin-bottom: 0px !important;}”]MATERIALS PREP
There are different types of vinyl flooring. Be sure to buy the glue that is specifically designed to work with the vinyl flooring that you’ve selected.
The glue gives off fumes. Make sure that the area that you are working on is well ventilated. Read the instructions on the glue container for the specific product details and safety.

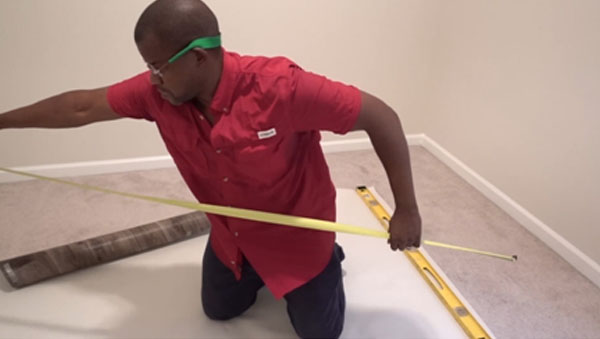
MEASUREMENTS & CUTTING
I started by carefully measuring the dimensions of the laundry room with my tape measure. Make sure you write everything down so you don’t forget. Then, I cut my vinyl down to a workable size with scissors or a razor knife, being sure to leave a few inches of extra material on the piece that I will be installing, which I will trim away once I have the sheet vinyl in place.
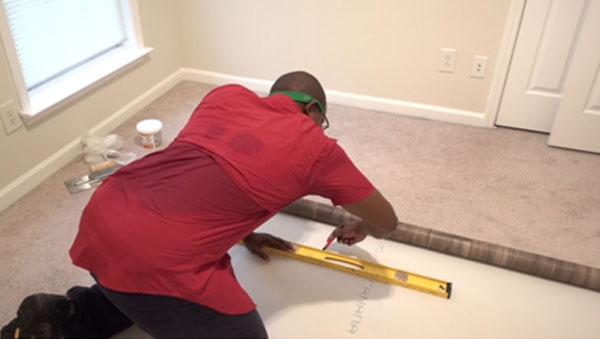
Remember: MEASURE TWICE, CUT ONCE. Depending on the time of day or night that I’m doing the work, I may feel the need measure more than twice just to make sure!
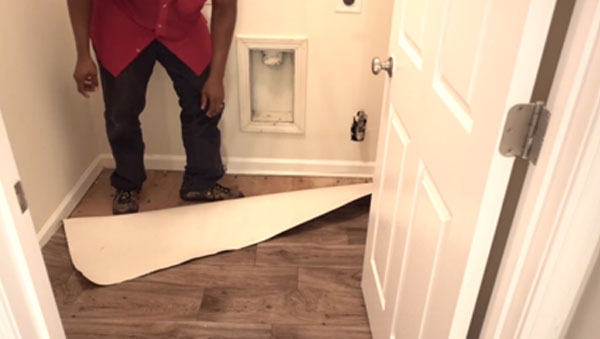
After noting all obstacles that must be worked around in the room, I bring in my vinyl sheet and lay it in place exactly the way I want to install it, WITHOUT any glue this time.
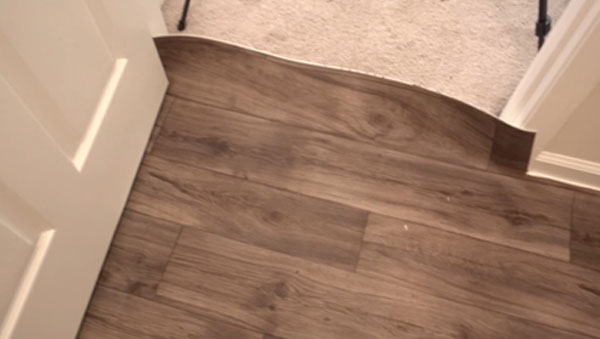
If your sheet vinyl has a pattern, make sure to correctly position your sheet vinyl so that the pattern is running in the desired direction. Once I have my sheet vinyl in place (remember no glue yet), I do an initial trim with a razor knife. I use the 5-in-1 tool to tuck the edges under the existing baseboard. Then, I carefully pull the sheet of vinyl up again and remove it from the room.
LAYING THE GLUE & VINYL
Be aware of the fumes from the glue. Some glue products give off stronger odours than others. Read the instructions on the glue carefully. Make sure that the area that you are working on is well ventilated. Take breaks to step outside if necessary. You should open windows and doors and turn on fans, or do whatever you need to do in order to get air circulating through the area.
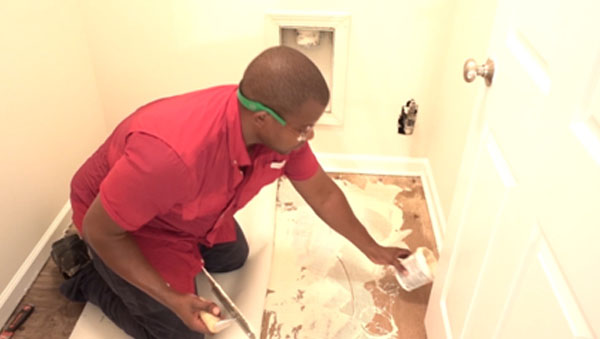
Now, it’s time to spread out the glue with the small tooth trowel on the first side of the room where the vinyl will be installed first.

I spread the glue as evenly as possible on half the room.
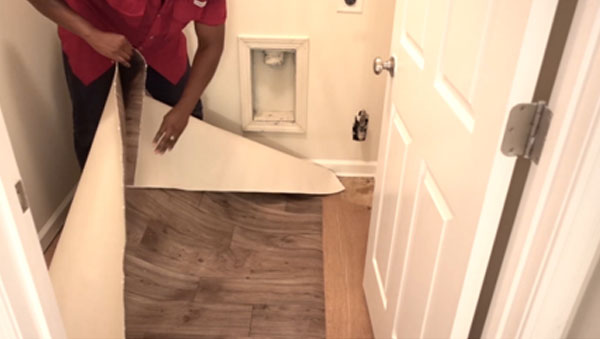
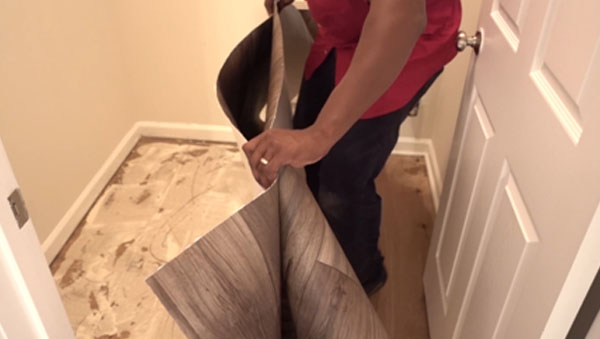
Now, it’s time to bring in the vinyl. Once have the vinyl back in the room, I place the vinyl on the floor in the glue as close to the final location as possible. Then I carefully slide, adjust and work it into place.
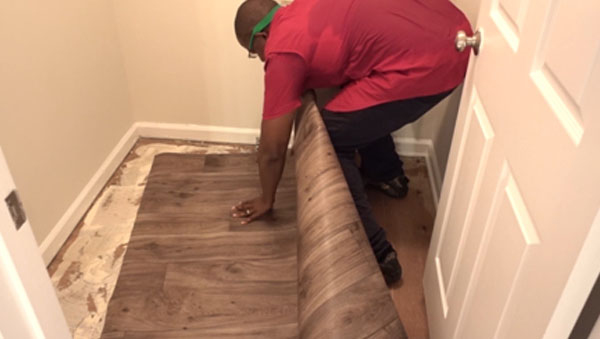
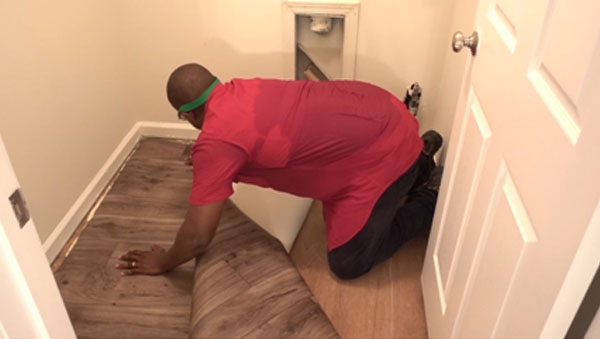
Once I have the first side of the vinyl glued down & in place, I pull up the vinyl on the side of the room where glue has not yet been applied. I spread glue on this side of the room and put the vinyl back down.
Be sure to work out any air pockets as you put the vinyl down the final time.
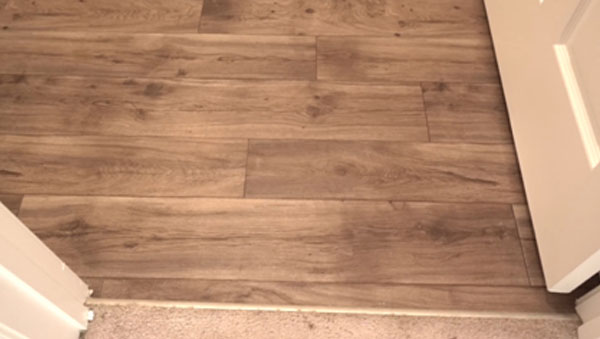
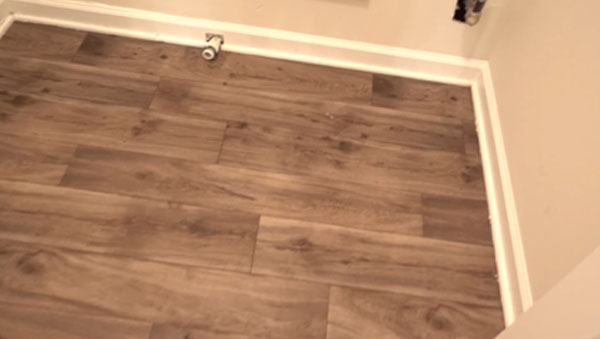
FINAL STEPS
Install or-reinstall shoe mould or quarter round trim and clean up the excess glue.
PEACE!

Hopefully, you all found this post insightful and informative.
Is there something else you would like to see? Please leave a comment.[/vc_column_text][/vc_column][vc_column width=”1/3″][vc_column_text css=”.vc_custom_1536561615395{margin-bottom: 0px !important;}”]TOOL TALK:
- Razor knife, or a pair of scissors
- 5-1 Tool
- Tape measure
- Small tooth trowel
- Rubber gloves
MATERIALS NEEDED:
- Roll of vinyl flooring
- Tub of glue
[/vc_column_text][/vc_column][/vc_row]