[vc_row][vc_column width=”2/3″][vc_column_text css=”.vc_custom_1544675613445{margin-bottom: 0px !important;}”]SITUATION
Recommended repairs from the pre-listing evaluation!
Today I’m working in a property that is literally only days away from being actively listed for sale. In this transaction, I’m providing both real estate services and pre-listing repair services for the owner. Which means that I’m responsible for performing the necessary repairs as well as listing the home immediately upon completion.
I recently performed a pre-listing property evaluation of the home and the owner and I have been working together to make the final selections of repairs and improvements that will be completed.
The house is pretty young by my standards (built in 2005) and is in pretty good shape overall, but still needs to have a few items freshened up to ensure that it looks its best when we go to a market and hopefully yield a quick sale.
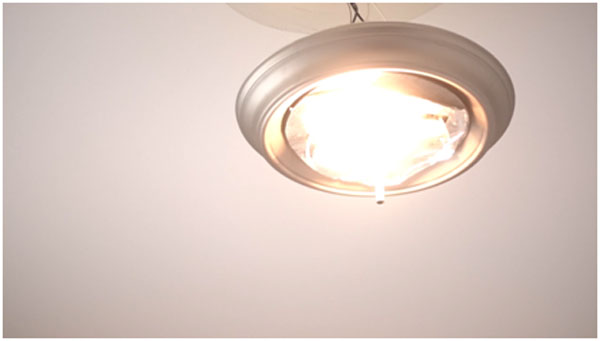
While conducting the pre-listing property evaluation I found two non-working ceiling lights on the second story of the property. One of the nonworking lights was in a bedroom and the other was in the hallway. There are no signs of vandalism and all other fixtures are in satisfactory working condition. The home is currently vacant and was not previously occupied by the owner, so there was no one to speak to for additional information about the problem.
INSTRUCTIONS
Getting Started
First things first. I determined which circuit breakers control the non-working lights. This is very important because this same circuit breaker will need to be turned off before any repair work begins.[/vc_column_text][vc_column_text css=”.vc_custom_1545026180848{margin-bottom: 0px !important;}”]ELECTRICAL TESTING – STICK TESTER
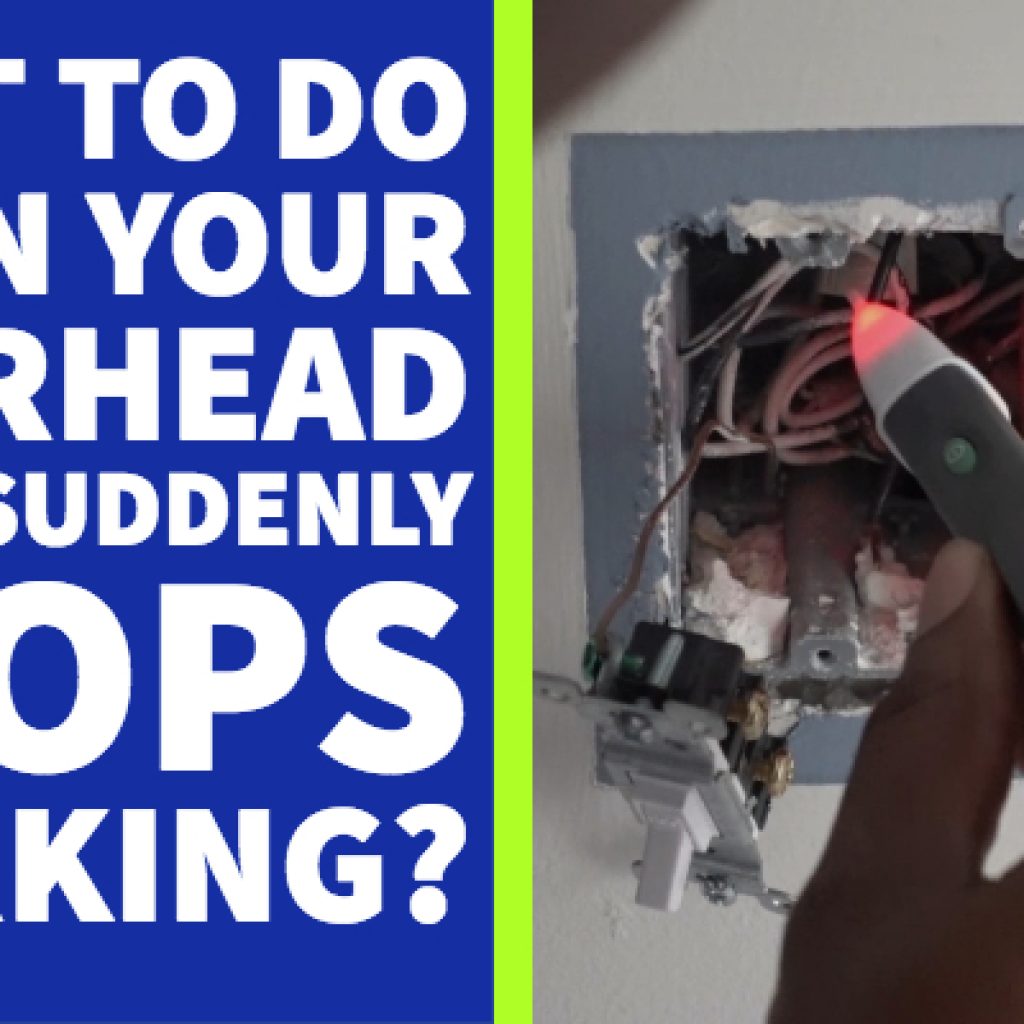
I started troubleshooting the electrical issue by loosening the ceiling light fixture from the ceiling and testing the wires running from the fixture to the outlet box.
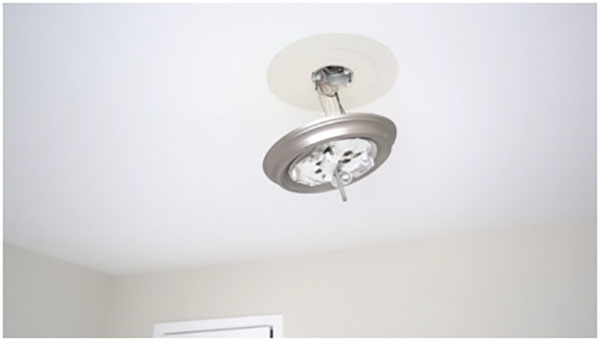
With the stick tester, I determined that the fixtures were not getting power. This was a potential indicator that the light fixtures themselves were not faulty.

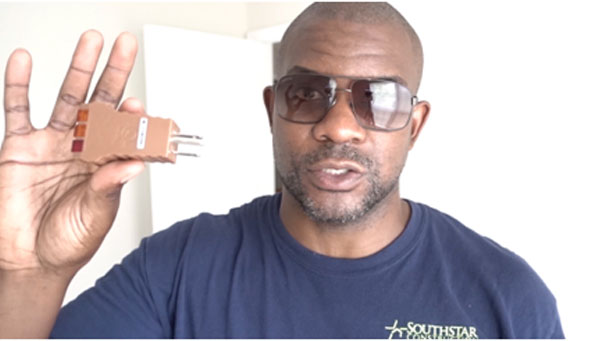
ELECTRICAL TESTING – OUTLET TESTER
Next, I used an outlet tester to test all the outlets in the room and the hallway for potential wiring issues. I tested each outlet, and the outlet tester indicated that they were all properly wired. So I moved to the next phase.
ELECTRICAL INSPECTION-VISUAL INSPECTION
SAFETY NOTE: Before beginning this process, I turned off the breaker that controlled the outlets and switches in the area where I was working.
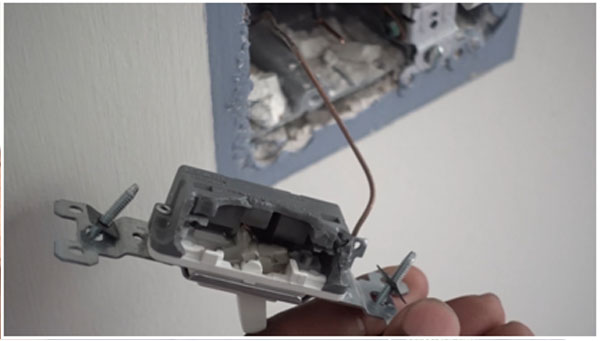
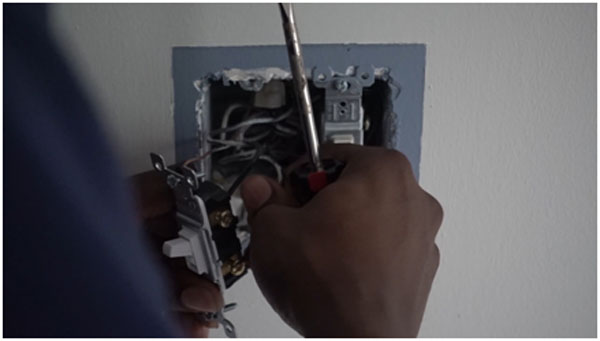
At this phase, I needed to look for a faulty or loose connection. The best way to do this is by visually inspecting the wires that connect to each of the outlets and switches. In order to do this, I removed all the outlet and switch faceplates by unscrewing them from the electrical boxes.
The faceplates are held in place by one or two screws that can be removed with a flathead screwdriver. Then, I unscrewed the actual outlets and switches from the electrical box.

The switches and outlets are usually also held in place by two screws and can be removed with a flathead or Phillips head screwdriver depending on the type of screw that was used. Once unscrewed, I pulled the outlets and switches forward so that I could examine the terminals where the wires connect to them.
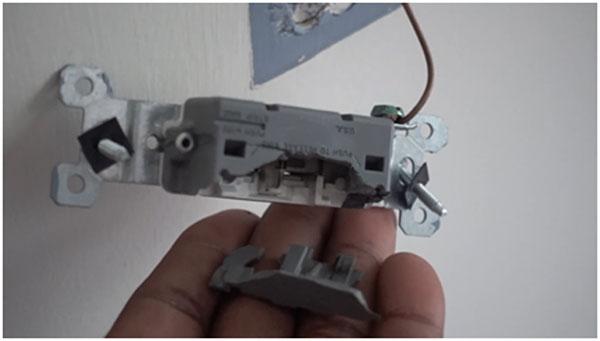
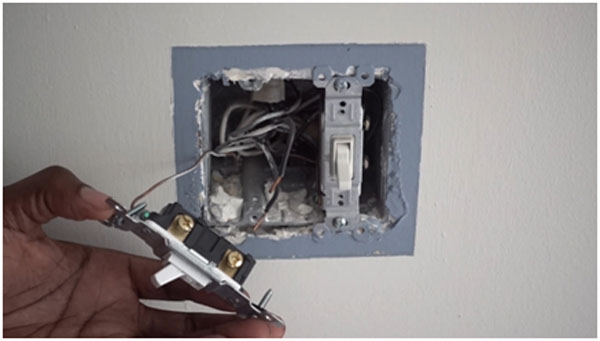
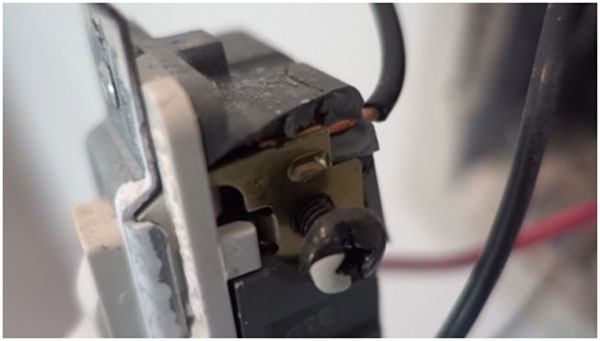
PROBLEM FOUND!
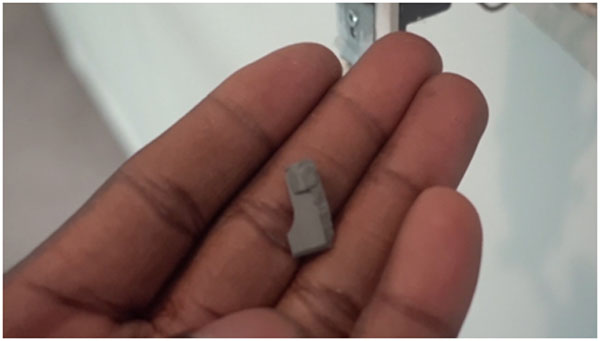
It was during the visual inspection of the wiring that I found a problem! When I removed the faceplate for the light switch and unscrewed it from the outlet box to examine the wiring, it fell apart in my hand.
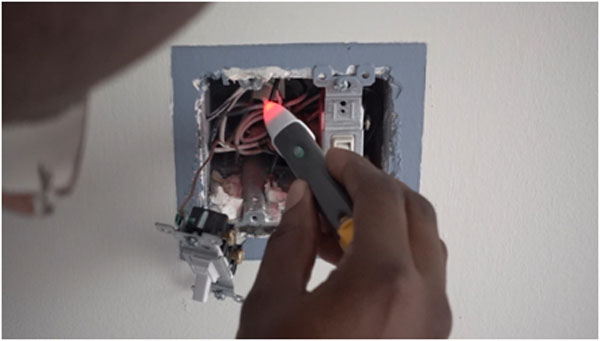
Before I began replacing the damaged switch, I used my stick tester to make sure that none of the wires inside the outlet box energized.
PHOTO #7 – LIGHT SWITCH WITH STICK TESTER (14)
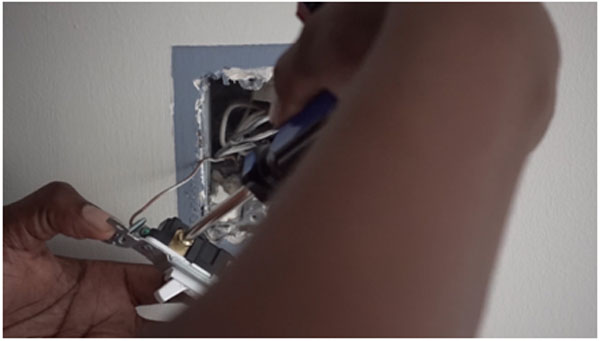
 After confirming that the wires did not have power, I disconnected what was left of the damaged switch and replaced it with a new one.
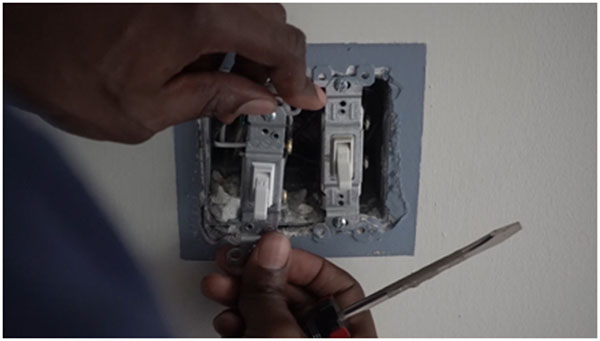
Once I had the new switch installed, I turned the breaker back on at the electrical panel. Next, I changed out the bulb in the light fixture and then I tested the light switch.
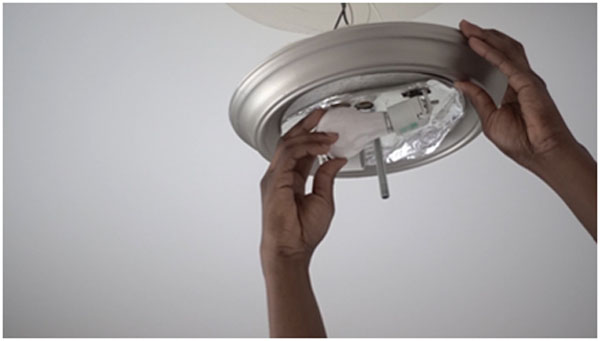
IT WORKED!
One down, one to go. When I went through the same steps in the hallway, I discovered that the light switch that controlled the light had similar damage.

I replaced the switch and retested the light switch (not pictured). IT WORKED ALSO!
NOTE: I advise using screwdrivers to loosen and tighten screws. Impact drivers can easily overtighten screws which can damage switches, outlets, or covers.
PEACE!

Hopefully, you all found this post insightful and informative. Please note that the sole purpose of this article and video is to share with the reader/viewer with an actionable process for troubleshooting an electrical issue. This was not intended to serve as a demonstration of how to wire an outlet and switch.
Is there something else you would like to see? Leave a comment.[/vc_column_text][/vc_column][vc_column width=”1/3″][vc_column_text css=”.vc_custom_1536922847531{margin-bottom: 0px !important;}”]TOOL TALK
- Flathead screwdriver
- Phillips head screwdriver
- Plugin Outlet tester
- Stick Voltage tester
- Electrical pliers
MATERIALS NEEDED
- New Outlets-if outlets are faulty
- New Switches-if switches are faulty
- New Fixtures-if fixtures are faulty
- New Light Bulbs
[/vc_column_text][/vc_column][/vc_row]